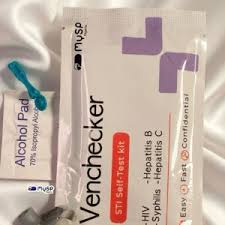
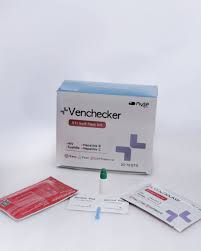
The Venchecker 4-in-1 Rapid Test Kit
The Venchecker 4-in-1 Rapid Test Kit
Venchecker 4-in-1 Is An All-in-one Rapid Blood Screening Test Panel Designed To Qualitatively Detect Specific Antibodies And Antigens For HIV-1/2, Syphilis, Hepatitis B, And Hepati...
Venchecker 4-in-1 Is An All-in-one Rapid Blood Screening Test Panel Designed To Qualitatively Detect Specific Antibodies And Antigens For HIV-1/2, Syp...
Brand: Brand
₦3,500.00
In Stock
Same day delivery available
90 - Day Buyer Protection
Money back guarantee
100% Quality Products
Buy top standard
Sanitized & Packaged Safely
Choose for contactless delivery
About this item
The Venchecker 4-in-1 Rapid Test Kit is a multiplexed diagnostic panel designed for fast, convenient, and completely private screening. Instead of collecting multiple vials of blood for individual laboratory tests, this single-panel cassette allows you to test for four highly critical infectious diseases at once. It works using a lateral flow immunoassay system, requiring only a few drops of blood from a simple finger prick, and provides visible tracking lines in minutes.
To guarantee complete accuracy and prevent a false invalid card, you must perform the finger prick and add the chemical buffers in the correct sequence.
1.Sanitize and Prepare: Clean Space.
Wash your hands thoroughly with soap and warm water, then dry them completely. Lay out all the kit accessories (cassette, lancet, diluent buffers, and pipettes) on a clean, flat surface. Wipe your chosen fingertip with the provided alcohol swab and let it air dry completely.
2.Collect the Blood Sample: Finger Prick.
Twist open the protective cap of the sterile safety lancet. Place the lancet firmly against the side of your sanitized fingertip and press the trigger button to stick the skin. Gently massage the base of your finger down toward the tip to form a large, round drop of blood.
3.Transfer to the Sample Wells: Pipette Draw.
Hold the plastic dropper pipette horizontally and touch the tip directly against the blood drop to draw it up. Squeeze exactly 1 or 2 drops of blood into each of the designated sample wells (marked "S") on the test cassette.
4.Add the Diluent Buffers: Specific Buffers.
Immediately uncap the specific chemical diluent buffer bottles. Add exactly 2 to 3 drops of buffer into the matching sample wells on top of the blood. The buffer thins the blood sample so it can travel smoothly across the test strips.
5.Read Your Results: 15-Minute Rule.
Set a timer and wait for the colored bands to stabilize. Read your screening results exactly between 15 and 20 minutes. Crucial rule: Do not read or trust any lines that show up after 20 minutes, as chemical evaporation will create false "ghost lines."
Understanding Your Results
- The Control Line (C) Rule: The control line is your baseline tracking check. A visible colored line MUST appear in the control region (C) for every test block. If the control line fails to show up, the test card is invalid—even if test lines appear. You must throw away the card and repeat the process with a fresh kit.
- Negative Result (-): A colored line appears only in the Control region (C), and no line shows up in the Test region (T). This suggests no detectable antigens or antibodies were found for that infection at the time of testing.
- Positive Result (+): Visible colored lines appear in both the Control region (C) and the specific Test region (T). The test line can be incredibly faint or highly bold; any visible line in the test box indicates a positive reactive result.
- Action Plan for Positive Results: Do not panic. This kit is a highly sensitive screening tool, not a final medical diagnosis. A positive screening result must always be confirmed through formal laboratory blood work (such as a Western Blot for HIV or a PCR test for Hepatitis) ordered by a physician.
The "Window Period" Warning
Every infectious disease has a unique window period—the time delay between initial exposure and when your immune system builds up enough detectable antibodies or antigens for a rapid test to see them:
- HIV: Typically 23 to 90 days.
- Syphilis: Generally 3 to 6 weeks.
- Hepatitis B: Roughly 1 to 6 months.
- Hepatitis C: Usually 2 to 12 weeks.
If you test too early inside this window period, the kit may show a false negative result because the markers are too low to detect. If you suspect a recent high-risk exposure, you must repeat the screening test after 90 days.
Form: Multiplex Lateral Flow Rapid Diagnostic Cassette.
Targets: HIV-1/2 Ab, Syphilis Ab, HBsAg, HCV Ab.
Sample Medium: Whole Blood / Serum / Plasma.
Reading Window: 15 to 20 minutes.
Didn’t find your meds. Don’t worry. Chat us on whatsapp
Chat with a PharmacistProducts related to this item
See all


Arrives 1-4 hrs nationwide
Lonart - DS
Lonart DS 80mg/480mg Tablet Is A Combination Medicine That Is Prescri...


Best Selling Products


Arrives 1-4 hrs nationwide
Postinor 2 Emergency Cont...
Postinor-2, Commonly Known As The Morning-after Pill, Is Used Only As ...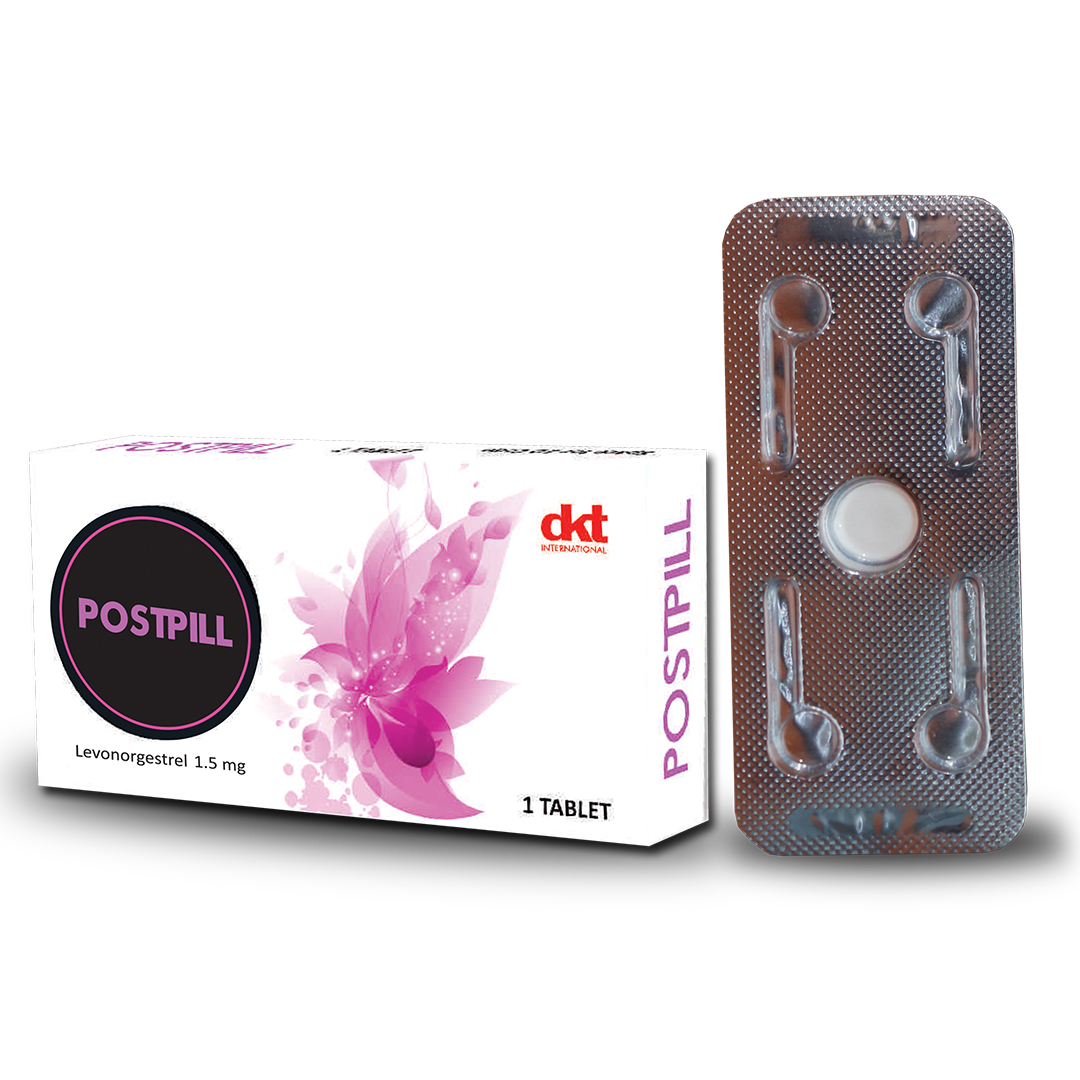
Arrives 1-4 hrs nationwide
Postpill
POSTPILL Is An Essential Emergency Contraceptive Pill (often Called Th...

₦3,500.00